Andy Warhol/Digital Portraits
Title: Andy Warhol/Digital Portraits// Digital Photography
Objective: Students will be introduced to the life and art of Andy Warhol as a way of considering photography as a self-portrait medium. After viewing and discussing other artists’ photographic self-portraits, students will create their own digitally manipulated photos of themselves, family members, or pets.
Questions:
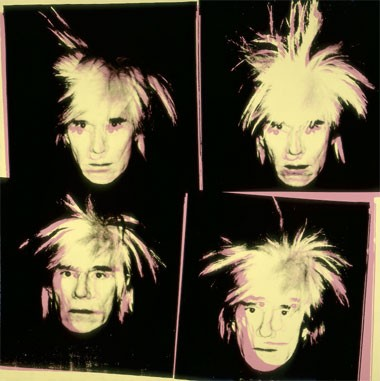
How do you think this self-portrait was made?
Why do you think he included four images of himself rather than one?
Essential Questions: What do you want to communicate about yourself or whoever the portrait is of?
National Art Standards
Anchor Standard 3: Refine and complete artistic work.
Anchor Standard 7: Perceive and analyze artistic work.
Anchor Standard 9: Apply criteria to evaluate artistic work.
Resources:
Materials:
- Smart Board or computer with ability to project images from slideshow
- Student photograph
- Computers equipped with digital-imaging software such as Adobe Photoshop
Background
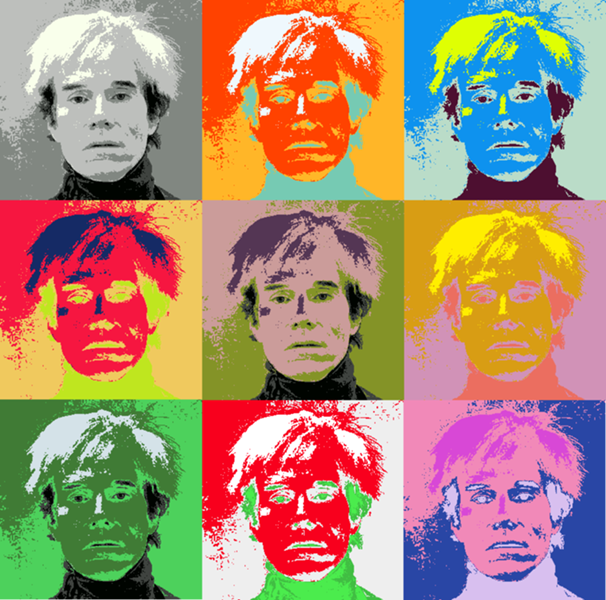
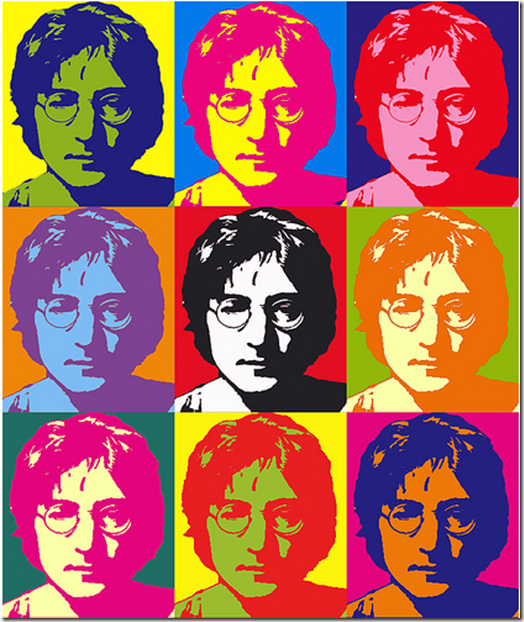
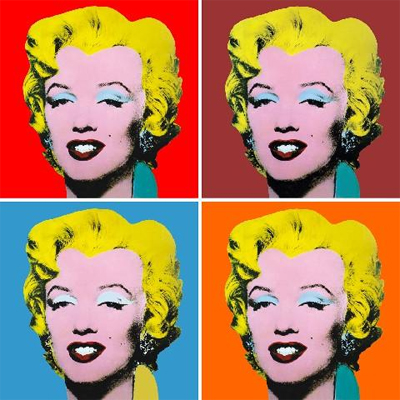
Andy Warhol became fabulously famous for his 1960s pop art. He produced big, bold images of the popular, the famous, and the stuff of our consumer society. His multi-image portraits of famous people—Marilyn Monroe, Elvis Presley, Jacqueline Kennedy—and of common products—Campbell's soup cans, Coca Cola bottles—are among the most powerful icons of twentieth-century American art.
Andy Warhol was born Andrew Warhola, the son of Czechoslovakian immigrants, in 1928. He grew up poor (during the Depression) outside Pittsburgh, Pennsylvania, with his parents and two brothers. As a child, Warhol (he later dropped the final "a") recalled having a few friends but also feeling "left out." He suffered briefly from a nervous disorder that caused muscle spasms and kept him isolated. He liked spending time on his own, coloring, taking snapshots with a small camera, and even making films with a movie camera given to him by his mother.
After graduating in art from Carnegie Institute of Technology in 1949, he moved to New York City, where he would have quick success as a commercial artist. He designed window displays, illustrated magazine articles, and drew record album jackets. In the 1960s, Warhol decided to abandon commercial art to focus on making serious visual art. While he hand-painted his first works, he soon developed a silk-screen process that allowed his staff of assistants to mass-produce the startling images of consumer products and brilliant movie star portraits. These works took the art world and the public by storm. In this self-portrait, he used four photographic images of himself (with his trademark “shocked” hair) and silk-screened them, off-kilter, onto a 6-foot square canvas. The result is four big heads, set in supercharged pink and yellow against a glossy, dense black background. The effect is intense and unsettling. He was also a pioneer in computer-generated art using Amiga computers that were introduced in 1984
Pop Art Inspired Computer Directions:
- Open up Adobe Photoshop, New file
- US Paper, Letter, size 8X10 inches, 300 Pixels per inch DPI
- Next, open up your saved portrait. Crop using the Marquee tool or crop tool to eliminate any areas of the photo you don't want to keep, Image (top bar) Crop.
- Image (top bar) resize image to make it bigger or smaller using the Percent option until it is a good size for your Pop Art lesson.
- Ctrl A (select all), Ctrl C (copy), then go to the new document and Ctrl V (paste).
- Another option is to use Free Transform which is under Edit (top bar) then drag the corners of image to resize
- If too big or too small Ctrl Z (undo)
- View (top bar) Rulers
- Click and drag blue guidelines from side and top to find the middle of your page
- Once you are happy with the image size. Ctrl V (paste) however many images you want either 4, 6, or 9
- Move the different layers with the Move arrow tool, use the eyes in the layers to figure out which layer is active.
- Use the filter tools to change the images so that each image has a different effect or use other options in the Image, Adjustments (top bar) to change the color balance, brightness, contrast, invert, etc
- Ctrl + Z (Undo) or the History window (top bar view and click History if the window is not open already) to undo anything.
Save As - Photoshop PSD file (saves layers) onto your student H: Drive!!
Flattened files when you are finished: PDF (for Adobe Reader), JPG (image no layers),TIFF (usually for websites, no layers)
DO NOT SAVE TO YOUR DOWNLOADS FOLDER!