Art Research


DIRECTIONS:
1. Choose an artist you like
2. Fill out the art research worksheet
3. Choose one of their artworks you want to recreate and print out or make a color copy of their art to look at.

Resources:
Mrs. Mayville's art books or art box

Links:

Google Art and Culture
https://artsandculture.google.com/explore 

Timeline of art in History:
https://www.albrightknox.org/timelines/collection-timeline

Mrs. Mayville's Favorites:

Keith Haring:
https://www.youtube.com/watch?v=nDHEmu0Q6RU
https://www.youtube.com/watch?v=R_03iqB8b9s
Image result for Keith Haring:

Jim Dine
Image result for jim dine

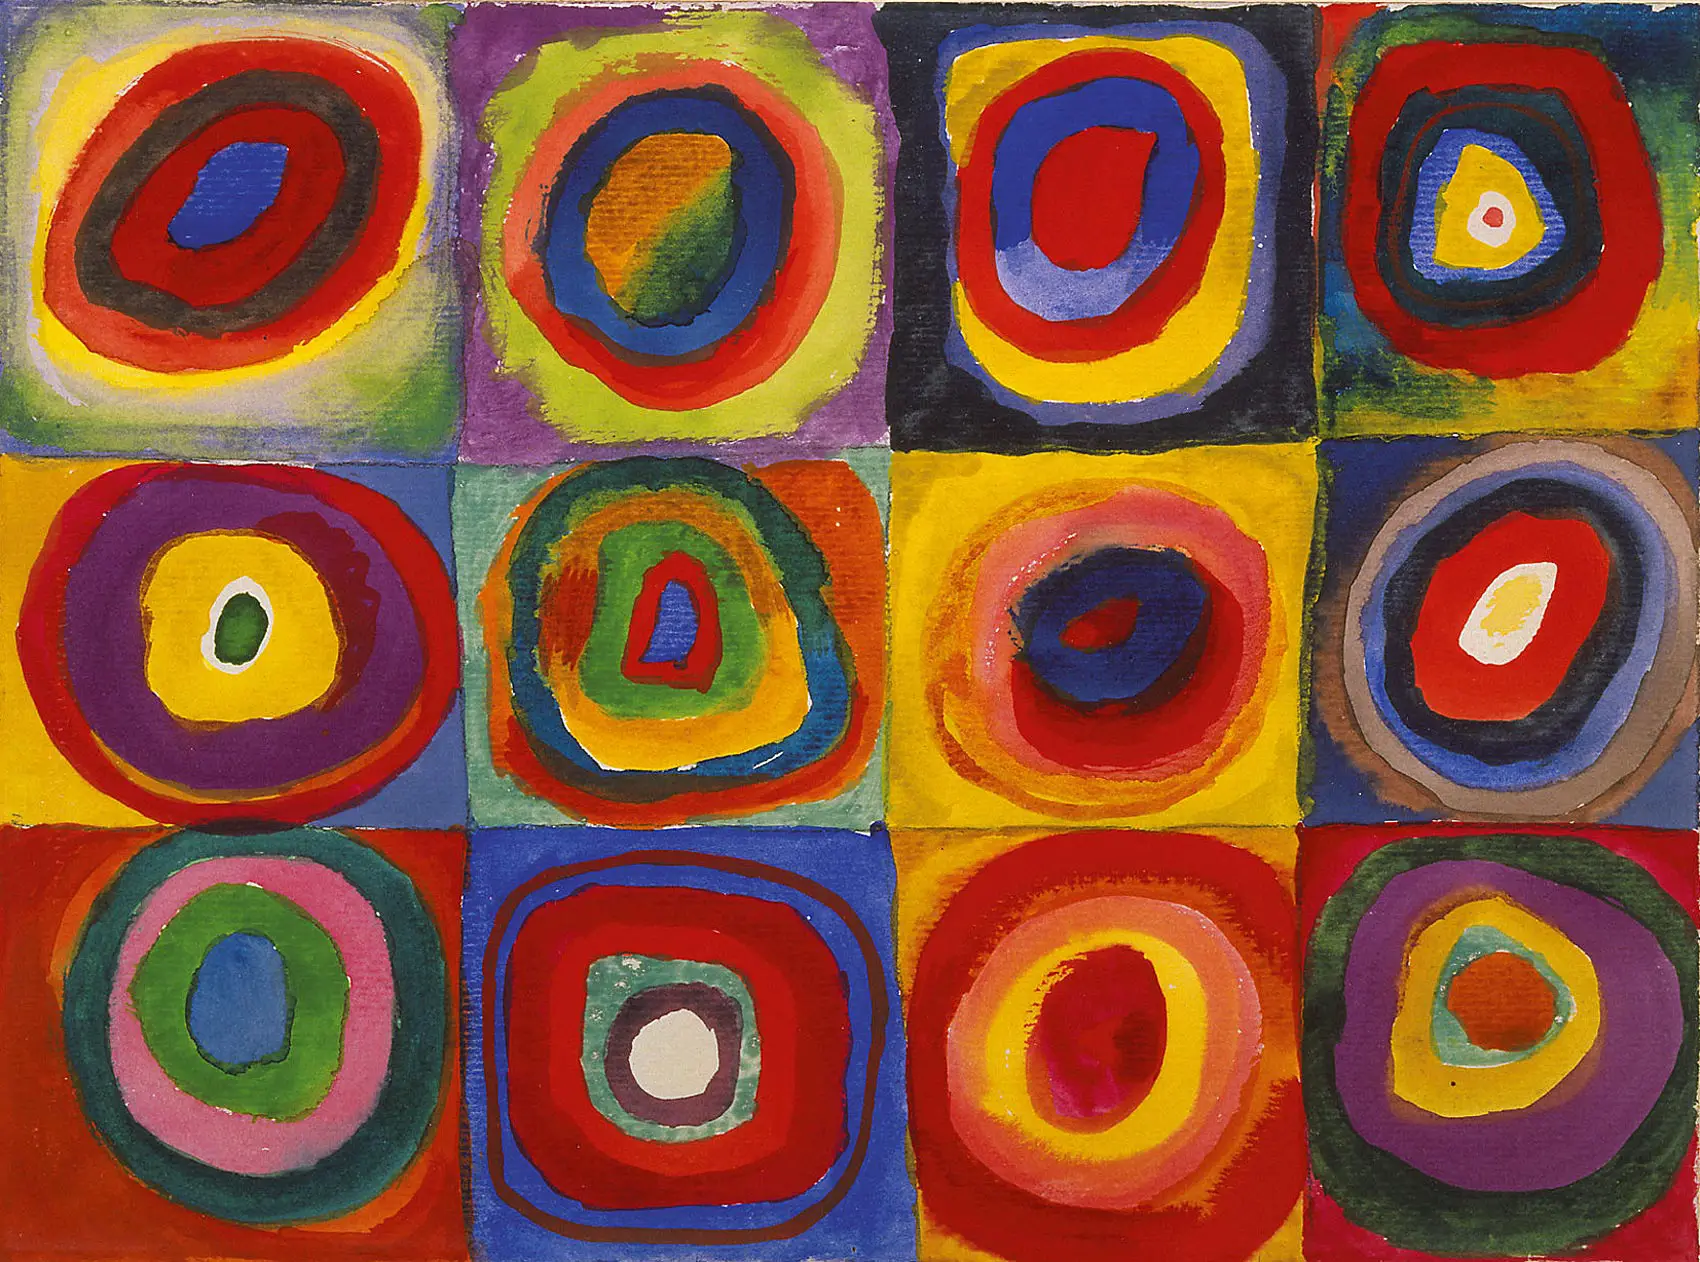
Kandinsky
Image result for kandinsky circles

Mondrian
Image result for mondrian

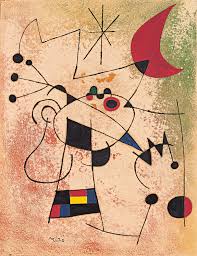
Miro
Image result for miro
Georgia O'Keeffe 

Image result for Georgia O'KeeffeRelated image
Charles Sheeler
Image result for Charles Sheeler flowers

Matisse
Image result for matisseRelated image

Claude Monet
Image result for monet 

More:
National Gallery of Canada, Ottawa
Top 10 Famous Paintings

35 Most Famous Paintings of All Times

52 artworks your child should know

10 famous art pieces inspired by nature
https://www.tentree.com/blogs/posts/10-famous-artworks-inspired-by-nature


10 most famous modern art artists and their masterpieces
7 Important Contemporary Artists You Should Know


3rd Marking Period Interim Assessment

3rd Marking Period Interim Assessment click here:
https://docs.google.com/forms/d/e/1FAIpQLSfrfrFeRDAKf79jyAFtNwX826-zTpg7w02mKISatkoSyiHkfA/viewform?usp=sf_link

Portrait Videos and Build Your own Emoji

100 Most Famous Portraits of All Time


Realistic Portrait Drawing: Do's & Don'ts


DO'S & DON'TS: How To Draw a Face | Realistic Drawing Tutorial Step by Step


Build your own emoji


bitmoji

Homemade Playdough

I've tried many many many playdough recipes and I have been making it for the past 6 years since it's so fun to make it yourself! Sometimes it turns out too dry and sometimes like slime. My daughter is almost 4 and she loves to help make it and of course play with it. Some recommendations I have is make sure you do the food coloring after it has cooled off for recipe #2. The more food coloring you put in the darker the color. The food coloring can get very messy so make sure you have paper towels, wash cloths or put a mat down on your surface. I'm still trying to decide if I like the liquid or gel coloring better. This keeps for a long time as long as you keep it in an air tight container.

Recipe #1

Ingredients
1 cup flour
1 cup water
2 tsp cream of tarter
1/3 cup salt
1 TBS vegetable oil
gel food coloring
In a medium saucepan, add 1 cup of flour, 2 teaspoons of cream of tarter, and 1/3 cup of salt (the salt keeps it from sticking and also helps preserve it). 
Next, add 1 cup of water and 1 tablespoon of vegetable oil.
Turn your burner on medium/low and stir. It will be a little lumpy and that’s fine.
Before it starts getting thick (this is going to happen fast, so be ready) you want to add whatever color food coloring you want. If it gets to thick before you add it, it’s hard to get an even color. Add the color and stir! (You will have to make batches for each color if you do it this way)
Keep stirring, it is going to start thickening up. This could take anywhere from 30 seconds-2 minutes depending on how hot your pan/stove is.
Now you can see it’s getting thicker, keep stirring, and keep scraping the bottom of the pot.
Once you notice the dough isn’t wet anymore, take it out of the pot.
The whole process shouldn’t take more than a few minutes. it goes really fast, and even faster when you make additional batches because the pot/stove is already warm.  
Put the dough on some wax paper or a silicone mat and allow to cool (30 minutes or so). Then take the ball in your hands and knead for a few seconds (like 30 seconds).  Store in a zip-lock bag. It shouldn’t dry out, but if you notice it getting a bit dry you can add a few drops of water and knead that into the dough. 
resource: 
https://domesticsuperhero.com/best-homemade-playdough-recipe/

Recipe #2

Ingredients

2 Cups of Flour
2 Tbsp of Oil (any oil will do, coconut oil, vegetable oil, even olive oil)
1/2 Cup of Salt
2 Tbsp Cream of Tartar
1 1/2 Cup Boiling Water

Food Coloring

Pour 2 cups of flour into a bowl.
Add 1/2 cup of salt.
Mix in 2 Tbsp Cream of Tartar. (You can find this in the spice section of just about any grocery store.)
In a separate bowl add 2 Tbsp of oil. For this recipe I used vegetable oil, but you can use any oil, and as long as it’s a kitchen oil, your playdough will be non-toxic and safe if a little one takes a tiny taste. The sodium level is very high, so don't let your kid eat it as a snack although our dog loves to eat it off the floor which helps clean up (LOL).
Pour in the boiling water to the oil bowl. Be VERY careful because this makes the dough HOT!
Mix all the ingredients together until they form the dough. It may seem dry at first but will become dough.
After it’s cooled, to make several different colors of playdough, separate the dough into equal parts and roll it up into balls.
Now, punch out the middle of the ball to leave a little bowl for you to pour your gel food dye into.
Drip your gel dye into the bowls. This is a great time to mix dye colors if you want to make another color.
Knead the dough until the dye is thoroughly mixed. This is VERY messy! If you don’t want to stain your hands, use gloves, and make sure to put something down so you don’t stain your counter.
resource:  
https://kidsactivitiesblog.com/206/play-dough


This is great for math and counting. My daughter made sure we had enough balls made per color. You can also turn this into a color mixing activity by mixing primary colors.
Red + Yellow = Orange
Red + Blue = Purple
Yellow + Blue = Green

Gelatin Printmaking


Gelatin printmaking is a form of monoprinting, meaning each print you pull is unique. No two prints are the same. The process of creating, problem solving, and experimenting is more important than the final outcome.

How to Make a Gelatin Printing Plate
Materials:
   Knox Gelatin
   Water
   Glycerin (optional but recommended)
   Shallow Pan
   Bowl
Note: It is possible to make a gelatin plate without using glycerin. However, the gelatin plate will not last more than a day or two without the glycerin.
Instructions:
First, decide what size pan you wish to use. Be sure to select a container that has a smooth bottom. I used a glass 9 x 13 inch dish.
Once you have selected your pan, measure how many cups of water it takes to fill it about 1 inch thick. My pan needed 4 cups of water.
Use the following recipe ratio to figure out how much gelatin and glycerine you will need.
Recipe Ratio :: 2 Tablespoons of Gelatin per 1 cup of liquid (divided between glycerin and hot water)
(One package of Knox Gelatin contains approximately 1 Tablespoon of gelatin mix).
To fill our 9 x 13 pan, I used eight packages of Knox Gelatin with 2 cups of glycerin and 2 cups of hot water.
Step 1: Pour 2 cups of glycerin in a bowl and sprinkle in 8 packages of gelatin. Stir gently.
Step 2: Add 2 cups of hot (boiling) water. Gently stir until the gelatin has dissolved.
Step 3: Slowly, pour the gelatin mixture into a pan. You can pop any bubbles that occur after pouring but don’t worry too much about the bubbles, the top of the pan will be the bottom of your printing plate.
I transferred the mixture to cooke sheets lined with parchment paper to make them a little thinner. Allow the gelatin to set for at least one hour.
Once the gelatin has completely set, use a knife to loosen the gelatin around the edges of the pan and slide out the gelatin plate. Line each layer of gelatin with parchment paper so they don't stick together. Try making bigger batches if you're using them with an art class.
***My Studio Art classes completely destroyed the plate after 1 day so I had to reconstitute the gelatin.  I microwaved the broken pieces for about 2 1/2 minutes stirring half way. I did 2 batches to microwave the entire amount. Then you follow the same steps as above.


What I like most about gelatin printmaking is layering the different techniques on top of each other. Try layering the first and second technique on one piece of paper. My students learned about Negative Positive Space and how to use construction paper to mask off areas. Other students tried 2 colors and a screen printing like technique.