Homemade Playdough

I've tried many many many playdough recipes and I have been making it for the past 6 years since it's so fun to make it yourself! Sometimes it turns out too dry and sometimes like slime. My daughter is almost 4 and she loves to help make it and of course play with it. Some recommendations I have is make sure you do the food coloring after it has cooled off for recipe #2. The more food coloring you put in the darker the color. The food coloring can get very messy so make sure you have paper towels, wash cloths or put a mat down on your surface. I'm still trying to decide if I like the liquid or gel coloring better. This keeps for a long time as long as you keep it in an air tight container.

Recipe #1

Ingredients
1 cup flour
1 cup water
2 tsp cream of tarter
1/3 cup salt
1 TBS vegetable oil
gel food coloring
In a medium saucepan, add 1 cup of flour, 2 teaspoons of cream of tarter, and 1/3 cup of salt (the salt keeps it from sticking and also helps preserve it). 
Next, add 1 cup of water and 1 tablespoon of vegetable oil.
Turn your burner on medium/low and stir. It will be a little lumpy and that’s fine.
Before it starts getting thick (this is going to happen fast, so be ready) you want to add whatever color food coloring you want. If it gets to thick before you add it, it’s hard to get an even color. Add the color and stir! (You will have to make batches for each color if you do it this way)
Keep stirring, it is going to start thickening up. This could take anywhere from 30 seconds-2 minutes depending on how hot your pan/stove is.
Now you can see it’s getting thicker, keep stirring, and keep scraping the bottom of the pot.
Once you notice the dough isn’t wet anymore, take it out of the pot.
The whole process shouldn’t take more than a few minutes. it goes really fast, and even faster when you make additional batches because the pot/stove is already warm.  
Put the dough on some wax paper or a silicone mat and allow to cool (30 minutes or so). Then take the ball in your hands and knead for a few seconds (like 30 seconds).  Store in a zip-lock bag. It shouldn’t dry out, but if you notice it getting a bit dry you can add a few drops of water and knead that into the dough. 
resource: 
https://domesticsuperhero.com/best-homemade-playdough-recipe/

Recipe #2

Ingredients

2 Cups of Flour
2 Tbsp of Oil (any oil will do, coconut oil, vegetable oil, even olive oil)
1/2 Cup of Salt
2 Tbsp Cream of Tartar
1 1/2 Cup Boiling Water

Food Coloring

Pour 2 cups of flour into a bowl.
Add 1/2 cup of salt.
Mix in 2 Tbsp Cream of Tartar. (You can find this in the spice section of just about any grocery store.)
In a separate bowl add 2 Tbsp of oil. For this recipe I used vegetable oil, but you can use any oil, and as long as it’s a kitchen oil, your playdough will be non-toxic and safe if a little one takes a tiny taste. The sodium level is very high, so don't let your kid eat it as a snack although our dog loves to eat it off the floor which helps clean up (LOL).
Pour in the boiling water to the oil bowl. Be VERY careful because this makes the dough HOT!
Mix all the ingredients together until they form the dough. It may seem dry at first but will become dough.
After it’s cooled, to make several different colors of playdough, separate the dough into equal parts and roll it up into balls.
Now, punch out the middle of the ball to leave a little bowl for you to pour your gel food dye into.
Drip your gel dye into the bowls. This is a great time to mix dye colors if you want to make another color.
Knead the dough until the dye is thoroughly mixed. This is VERY messy! If you don’t want to stain your hands, use gloves, and make sure to put something down so you don’t stain your counter.
resource:  
https://kidsactivitiesblog.com/206/play-dough


This is great for math and counting. My daughter made sure we had enough balls made per color. You can also turn this into a color mixing activity by mixing primary colors.
Red + Yellow = Orange
Red + Blue = Purple
Yellow + Blue = Green

Gelatin Printmaking


Gelatin printmaking is a form of monoprinting, meaning each print you pull is unique. No two prints are the same. The process of creating, problem solving, and experimenting is more important than the final outcome.

How to Make a Gelatin Printing Plate
Materials:
•   Knox Gelatin
•   Water
•   Glycerin (optional but recommended)
•   Shallow Pan
•   Bowl
Note: It is possible to make a gelatin plate without using glycerin. However, the gelatin plate will not last more than a day or two without the glycerin.
Instructions:
First, decide what size pan you wish to use. Be sure to select a container that has a smooth bottom. I used a glass 9 x 13 inch dish.
Once you have selected your pan, measure how many cups of water it takes to fill it about 1 inch thick. My pan needed 4 cups of water.
Use the following recipe ratio to figure out how much gelatin and glycerine you will need.
Recipe Ratio :: 2 Tablespoons of Gelatin per 1 cup of liquid (divided between glycerin and hot water)
(One package of Knox Gelatin contains approximately 1 Tablespoon of gelatin mix).
To fill our 9 x 13 pan, I used eight packages of Knox Gelatin with 2 cups of glycerin and 2 cups of hot water.
Step 1: Pour 2 cups of glycerin in a bowl and sprinkle in 8 packages of gelatin. Stir gently.
Step 2: Add 2 cups of hot (boiling) water. Gently stir until the gelatin has dissolved.
Step 3: Slowly, pour the gelatin mixture into a pan. You can pop any bubbles that occur after pouring but don’t worry too much about the bubbles, the top of the pan will be the bottom of your printing plate.
I transferred the mixture to cooke sheets lined with parchment paper to make them a little thinner. Allow the gelatin to set for at least one hour.
Once the gelatin has completely set, use a knife to loosen the gelatin around the edges of the pan and slide out the gelatin plate. Line each layer of gelatin with parchment paper so they don't stick together. Try making bigger batches if you're using them with an art class.
***My Studio Art classes completely destroyed the plate after 1 day so I had to reconstitute the gelatin.  I microwaved the broken pieces for about 2 1/2 minutes stirring half way. I did 2 batches to microwave the entire amount. Then you follow the same steps as above.


What I like most about gelatin printmaking is layering the different techniques on top of each other. Try layering the first and second technique on one piece of paper. My students learned about Negative Positive Space and how to use construction paper to mask off areas. Other students tried 2 colors and a screen printing like technique. 


Illusion of Space

Illusion of Space worksheet and video
1. OVERLAP
2. SHADING
3. PLACEMENT
4. SIZE
5. VALUE and FOCUS
6. LINEAR PERSPECTIVE

http://arteascuola.com/2013/11/video-tutorial-the-illusion-of-space/

The Cartoon Guy Show! Captain Comics 7 Elements of Art

https://youtu.be/_6XYNrMbgNo


Illustrators

An illustrator is an artist who specializes in enhancing writing by providing a visual representation that corresponds to the content of the associated text or idea. The illustration may be intended to clarify complicated concepts or objects that are difficult to describe textually, which is the reason illustrations are often found in children's books.[1]


Illustrations have been used in advertisements, architectural rendering, greeting cards, posters, books, graphic novels, storyboards, manuals, business, magazines, shirts greeting cards, video games and newspapers (comics section, or political cartoons) etc..


EDL_spring.jpg
See some examples of Mrs. Mayville's favorite illustrators here: https://docs.google.com/document/d/1cRwC8_fr2b_7Zb3YXmZXnhGK0z6qEHtI-9hcv_74lOg/pub


BEGIN THINKING ABOUT:

  • Choose your style (realistic, cartoon, simple, etc.)
  • Choose your art materials (color pencils, Sharpie, ink & watercolor, collage, computer, mixed media)
  • How are you going to use the page? (borders, circle, 2 page spread)
  • Practice, practice, practice sketches then final
NEXT
  • Look at books, find inspiration, and figure out what style you like and want to try to do for your story.

Websites that share well known illustrators:


Some of my favorite illustrators:


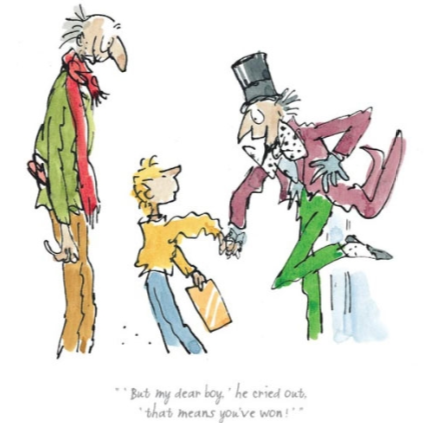
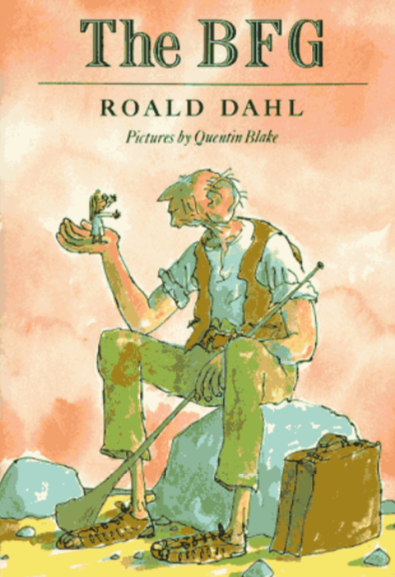
willy wonka quentin blake

How do you stop the ink running when you add watercolour?ink


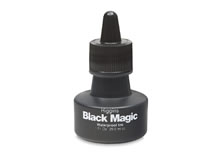
“I use waterproof ink: a brand called 'Higgins Black Magic'.  Then I can add the watercolour afterwards without the lines getting smudged.  Sometimes I use ordinary, non-waterproof inks, perhaps because they come in different colours, or because I'd like the line to be a bit blurry.”

http://showbizgeek.com/wp-content/uploads/2013/11/Screen-Shot-2013-11-16-at-12.09.37.png
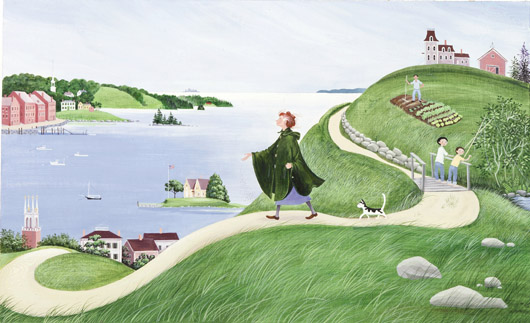
Barbara Cooneyhttp://www.carlemuseum.org/blog/wp-content/uploads/2011/05/530.jpg

MissRumphius530.jpg


http://thejelly.files.wordpress.com/2008/10/ch3.jpg


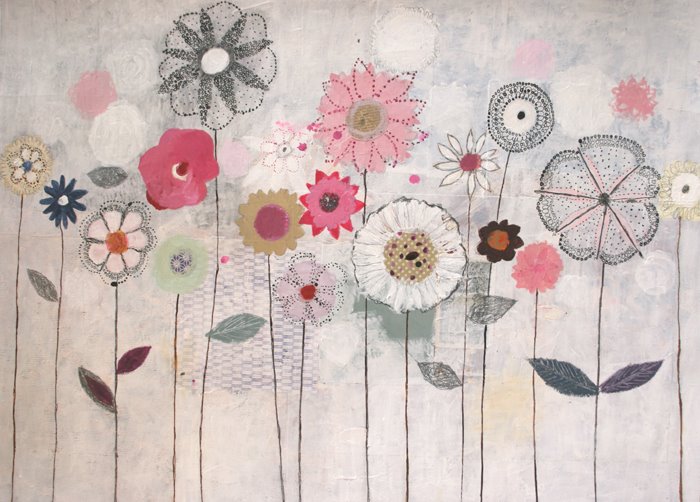
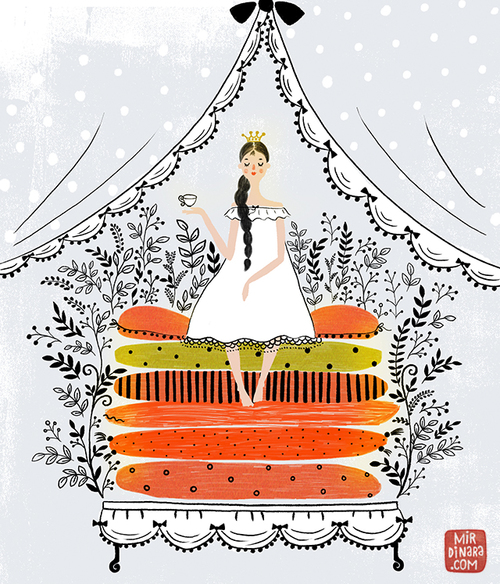
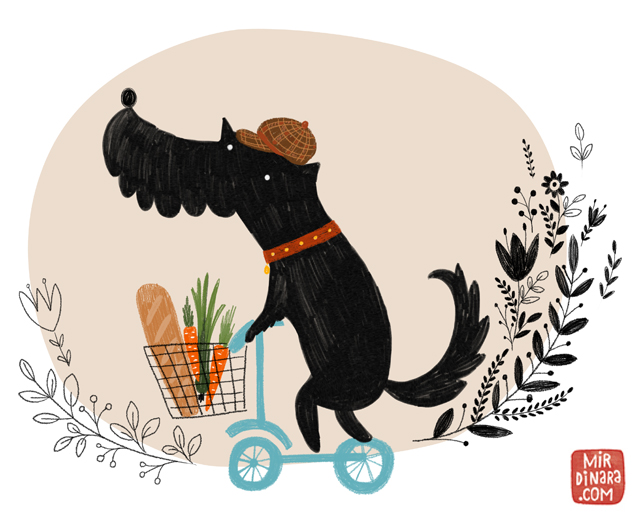
mirdinara_pattern3.jpg


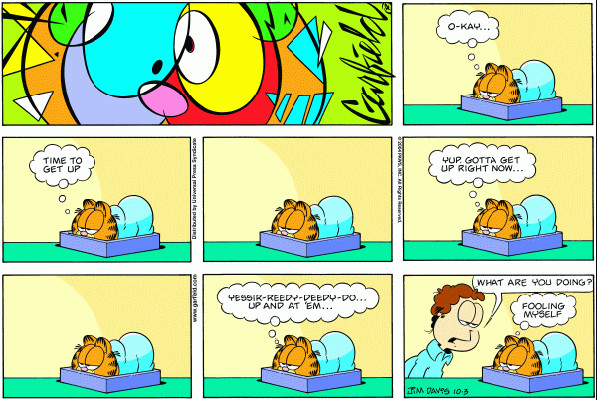
Jim Davis

My brother’s favorite:

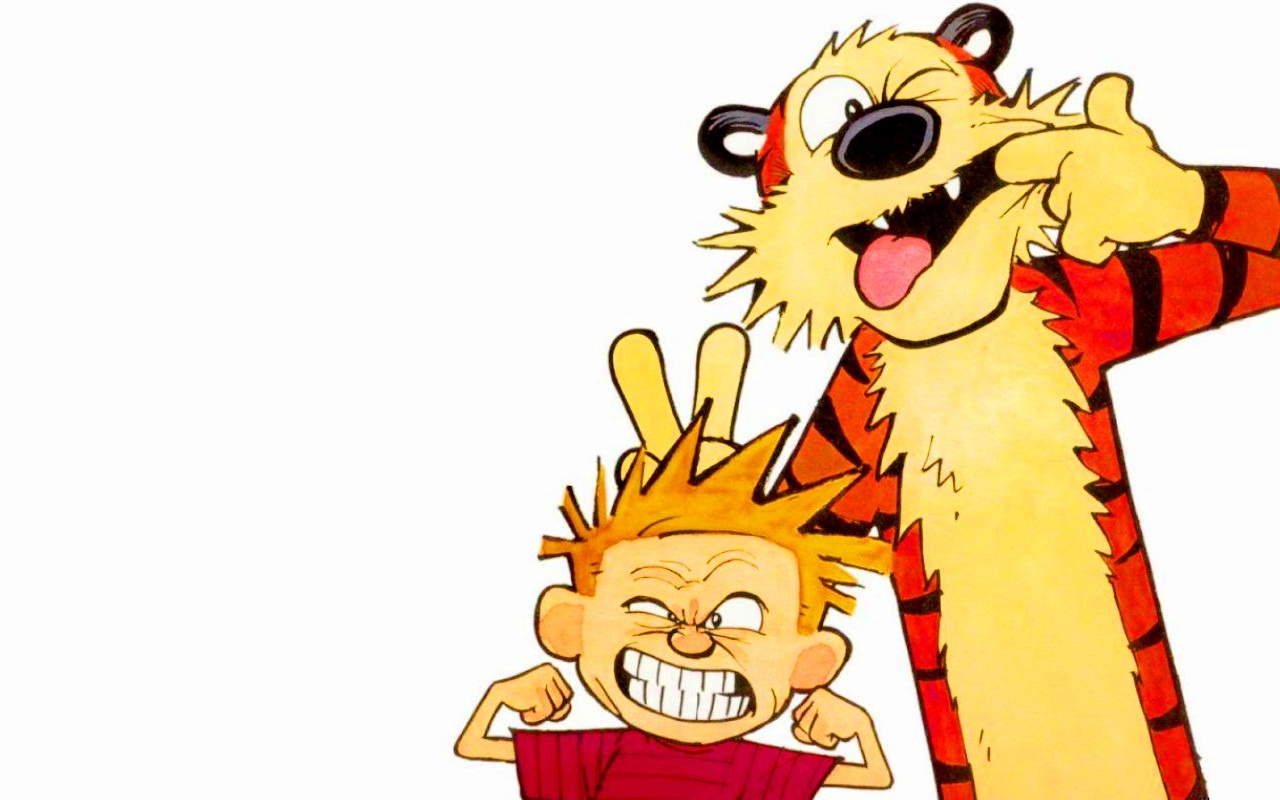
Calvin and Hobbes

Creator: Bill Watterson


Some Comic Book Illustrators:
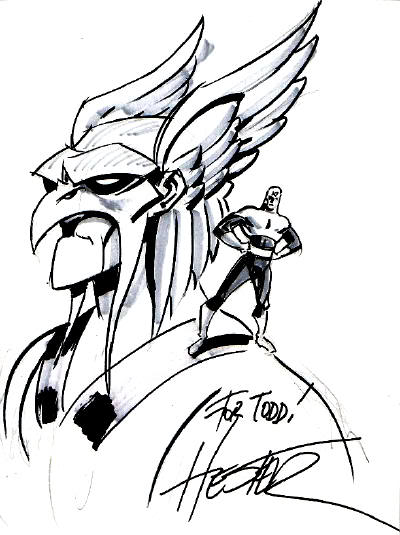
Phil Hester


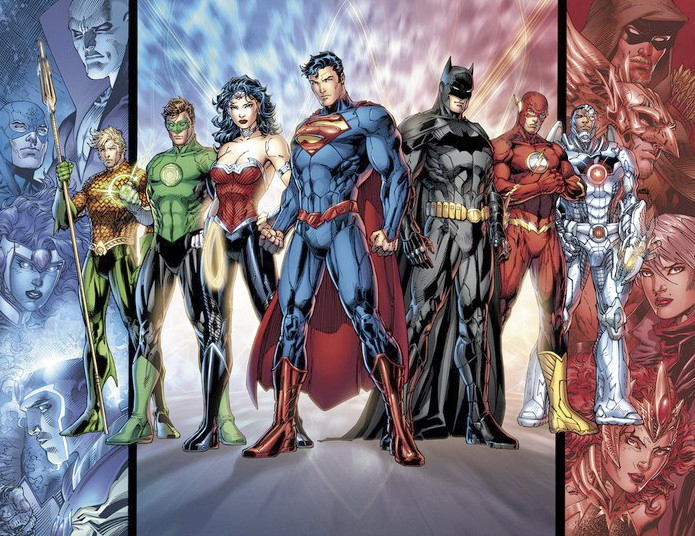
Jim Lee


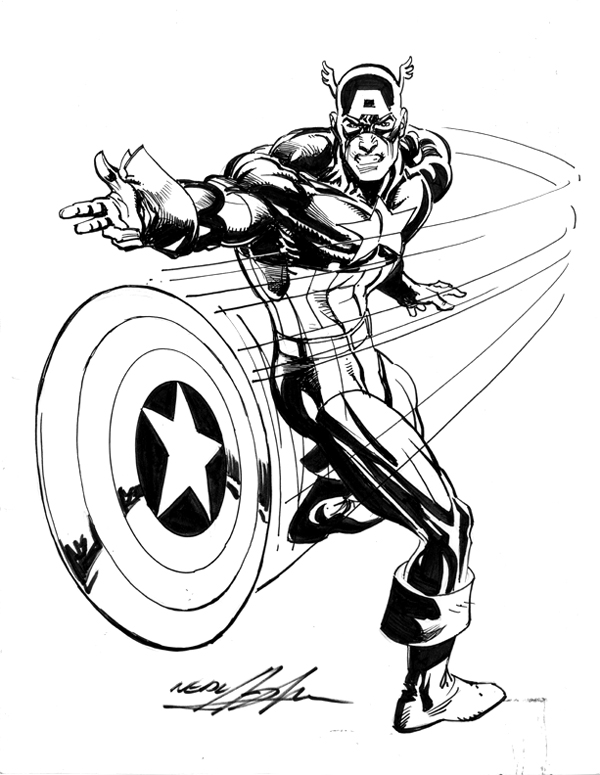
Neal Adams


Darwin Cook

More Comic Book illustrators: Jack Kirby, Alex Ross, David Aja, Frank Miller.


Robideau/Lamitie-King Exhibit

Opening reception and awards at the Wead Library featuring Middle and High School Juried Exhibit. Celebrating it’s 17th year this Foothills ARTSociety sponsored Robideau/Lamitie-King Exhibit will showcase the talents of Middle and High School students from 6 area schools. The schools participating this year are Brushton-Moira, Chateaugay, Franklin Academy, Holy Family, Malone Middle School and Salmon River. 

17th Annual Robideau/Lamitie-King Exhibit Award Winners

The Opening Reception and Awards Ceremony for the Robideau/Lamitie-King Juried Exhibit for Middle and High School students from 6 area schools took place on Saturday at the Wead Library. This annual event, in memory of Norbert Robideau and in honor of Karen Lamitie-King, has been sponsored by Foothills ARTSociety for the past 17 years.  Juror for the exhibit was Elaine Taylor, a professional artist who teaches at NCCC in Saranac Lake and in Malone. Elaine earned her MA and MFA from the University of Wisconsin-Madison. Her current work includes large scale installations and playful sculptures and drawings.

Each of the student artists received a participation certificate. Students represented the following schools: Brushton-Moira, Chateaugay, Franklin Academy, Holy Family, Malone Middle School and Salmon River.  The show will remain hung at the Wead Library until April 28. In addition to student work, professional artist Geoff Cobb has several drawings and sculptures on display. Geoff was sponsored by Foothills ARTSociety and the Wead Library to be an Artist-in-Resident and facilitate a special workshop “Peas in a Pod” on Saturday. The finished sculpture was given to the library for public display.

Middle School Honorable Mention certificates and art pencils were awarded to Karennahawi Barnes for “Cake”, Kali Mayville for “Self Portrait”, Anya Derouchie-Pyke for “Anna Kendrick”, Bailey Trainer for “Untitled”, Gianna Thompson for “Wonders”, Emma Hesseltine for “Stop Hunger”, and Angela Dwyer for “Snowflake”.  The Middle School Drawing Award was presented to Chateaugay student Hunter Martin for “Camilla.” The MS Painting Award was presented to Malone Middle School student Caroline Robinson for “Selfie”. The recipient of the MS Sculpture Award was Trystan Bolster from Malone Middle School for “Nevelson.” Receiving the MS Mixed Media Award was Samantha Clookey for “In The Flowers.” Honorable Mention  winners were presented with certificates and art pencils. Award winners were presented with certificates as well as sketchbooks and an art pencil set.

High School Honorable Mention Certificates were awarded to Daniel Thompson for “Eagle”, Peyton Cook for “SK8- Hi Pro”, Victoria Hanna for “Apple Blossoms”, Kassy Tough for “Owl Eye”, Chance Stansbury for “Clepto”, Libbie Tarbell for “The Dancing Dot”, Liam Smyth for “Untitled”, Tiarra Anderson for “Mocs” and Breanna Sherron for “Dinner and Dessert”.  In addition to certificates each HM student was presented with art pencils. The HS Drawing Award was presented to Salmon River student Lauren Martin for “Shades of Youth”. Chateaugay student Elara Martin received the HS Painting Award for “Fancy Flowers”. The HS Sculpture Award recipient was Brushton-Moira student Kalyn Middeker for “Kandinsky Transformation”.  The HS Mixed Media Award winner was Salmon River student Camryn Buckshot for “Earth Basket.” Each Award winner was presented with a certificate as well as an inscribed wooden plaque with a photograph of their winning entry.

Also announced at Saturday’s reception was the recipient of the Foothills ARTSociety’s annual scholarship. Foothills Art Society Board members, Melissa Benardot and Barry Armstrong presented the Foothills Scholarship to FA Senior Kamden Spicer.  Kamden has been accepted in the TV-Video Production department at SUNY Plattsburgh. Kamden states that “Although his primary collegiate goal is to acquire the knowledge and skills upon which he can build a successful career, he is also looking forward to learning about advanced techniques and resources which will provide him with new ideas for expressing himself though the art of video production.”

At the end of the reception an acrylic painting , donated by professional artist, Arnie Sauther, was raffled off.  The winner of “Floating Flowers” was Rick Auger. Foothills ARTSociety would like to thank the Wead Library for hosting this show again this year and everyone who helped to make this annual exhibit a success again this year.  The exhibit will remain hung for viewing until Saturday, April 28th.
http://www.mymalonetelegram.com/apps/pbcs.dll/article?avis=WD&date=20180412&category=MTG05&lopenr=180419648&Ref=AR


http://www.indiantime.net/story/2018/04/12/news/the-annual-robideaulamitie-king-ms-and-hs-juried-art-show-opens-april-14/27508.html?m=true